Klap-o-Meter
Tool for adjusting elevator on F2D models
First published: 3/4 2015 - Last update: 7/8 2018 - By Henning Forbech
|
How do you adjust the elevator on your models?
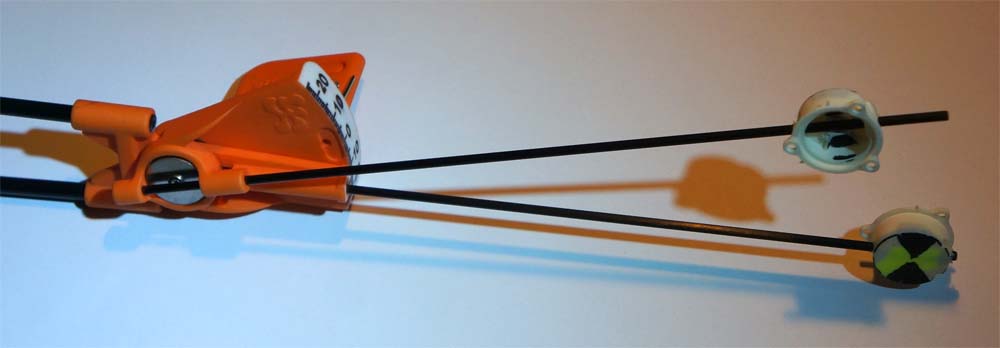
Model trim is made easier if you are able to measure what you are doing. This instrument has been designed to measure the deflection of the elevator. When you find the trim that suits your flying skills and style it will be easy to set up more models with the exact same trim You can buy the plastic part for the Klap-o-Meter from Shapeways here You will need two old FORA ball bearings, two aluminum tubes (ø6 x 220 mm), two M3 screws, two big washers and some silicone tube Update 1/4 2018: The Klap-o-Meter has now two extra sticks for better visibility |
What dose "Klap-o-Meter" mean? "Klap" is the Danish name for "flap" Over the years "klap" has been the Danish nickname for "elevator" Klap-o-meter" is not to be mistaken with the "Clap-o-meter". The Clap-o-meter is a applause meter that measure the volume of clapping made by an audience Clap-o-meter | |
| | ||
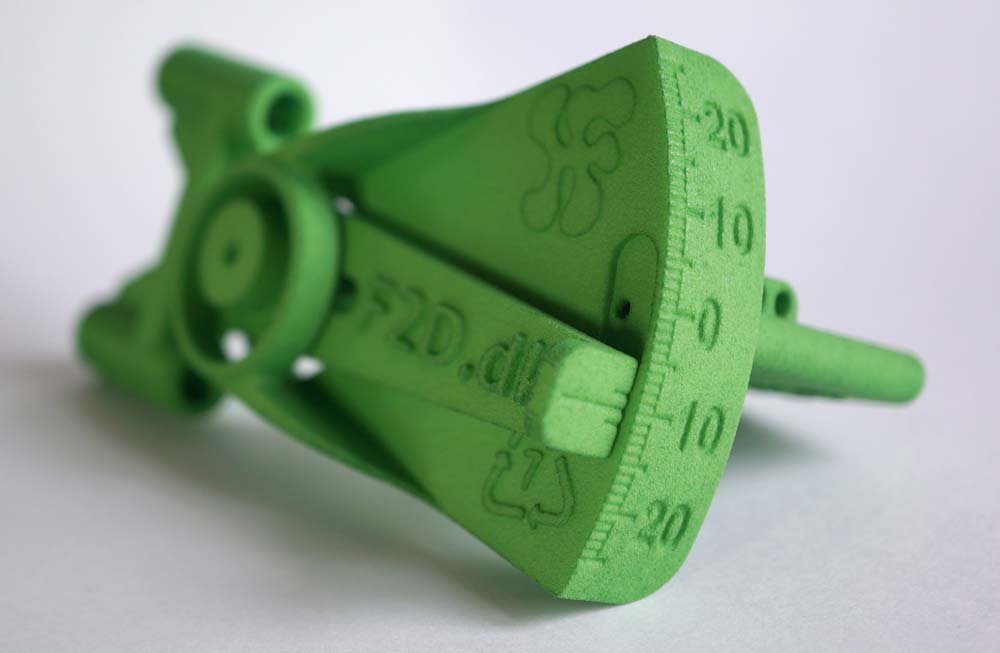 The plastic parts directly form the 3D printer 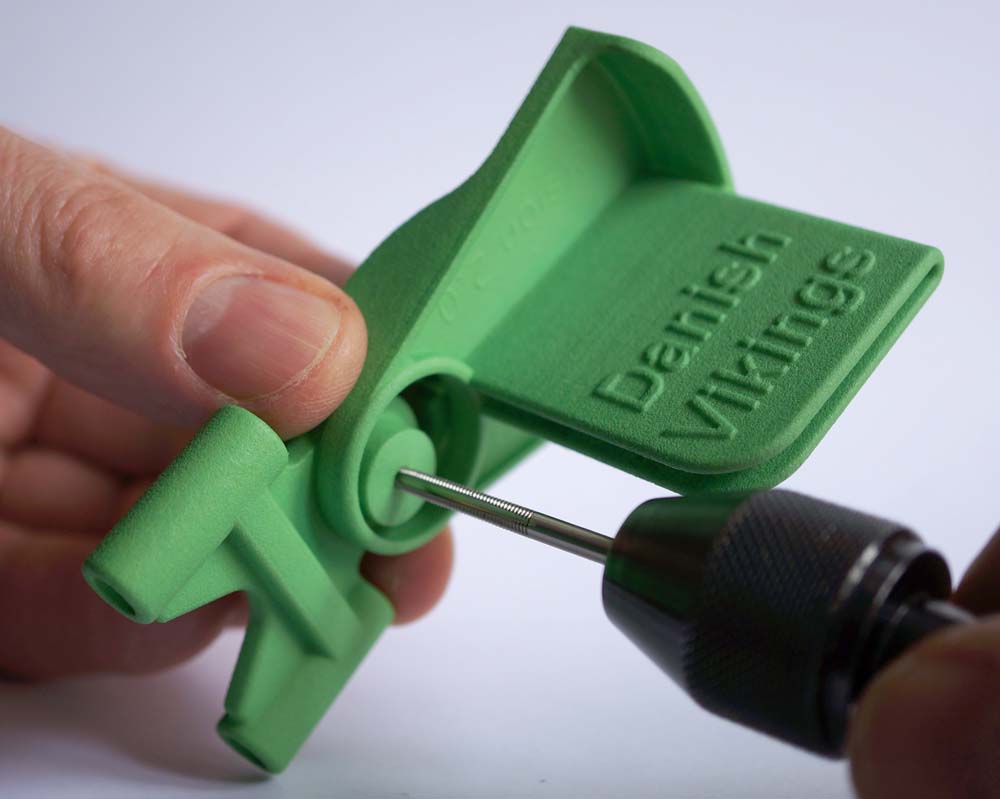 Cut M3 thread from both sides 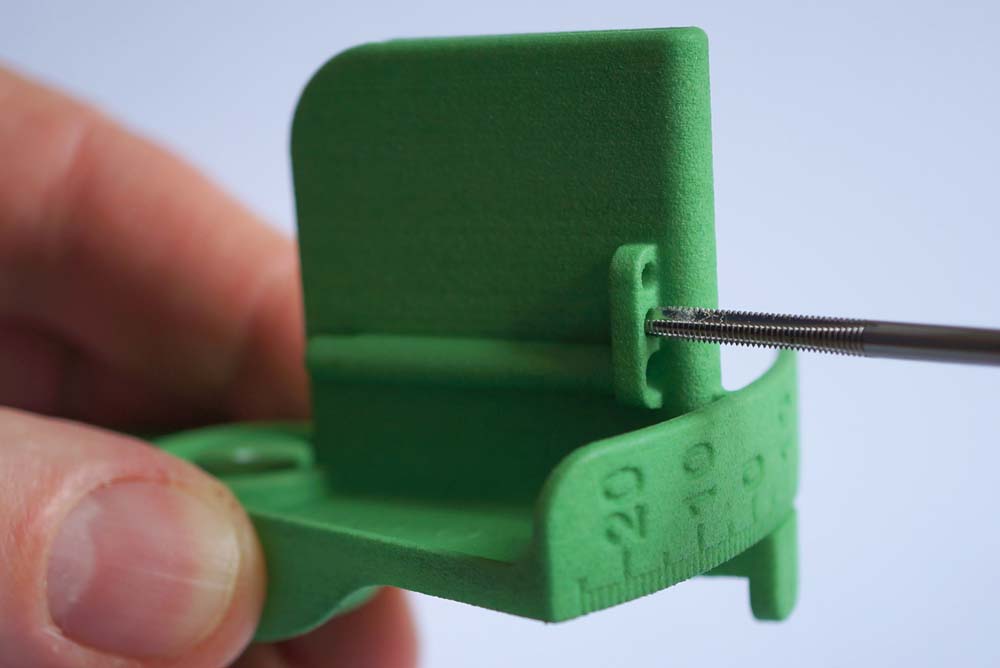 Cut M3 thread for the spare screws (I use these small screws on my control system)  Push in a set of old FORA rear ball bearings 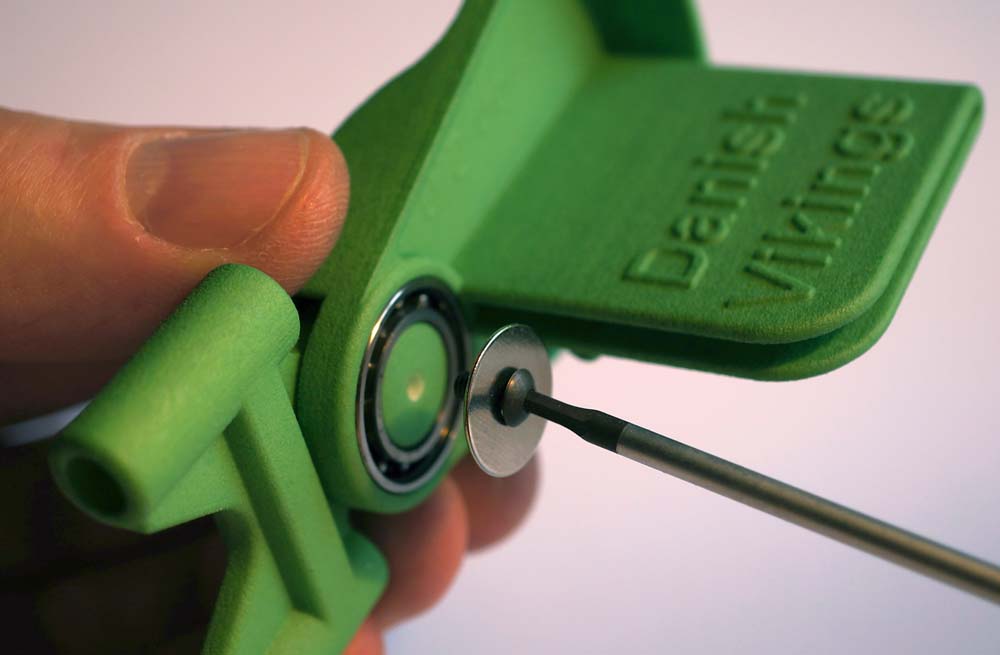 Secure the ball bearings with an short M3 screw and a big washer from each side 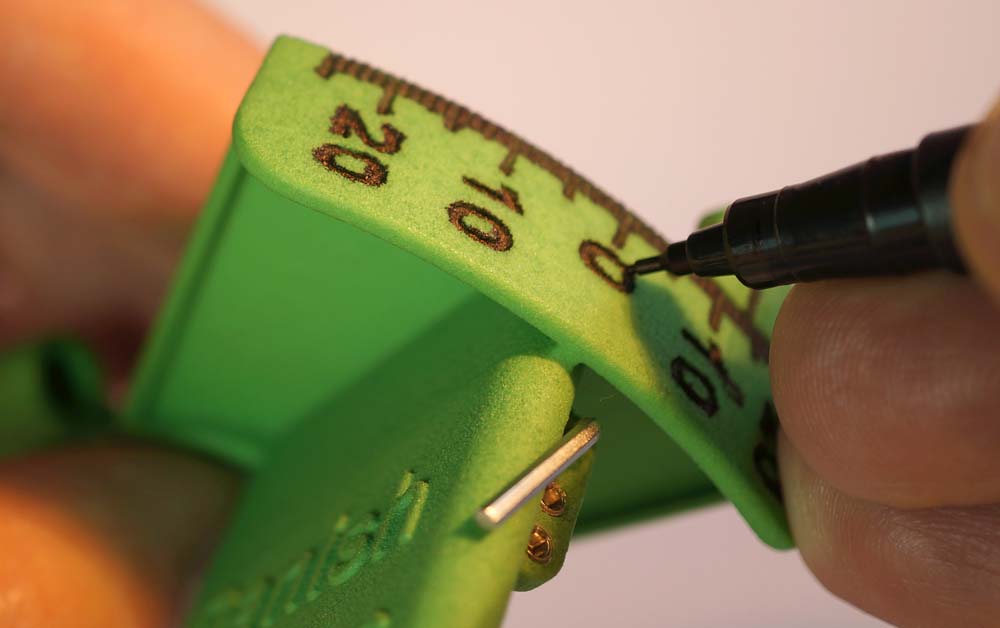 Mark the engraved scale with a black permanent marker 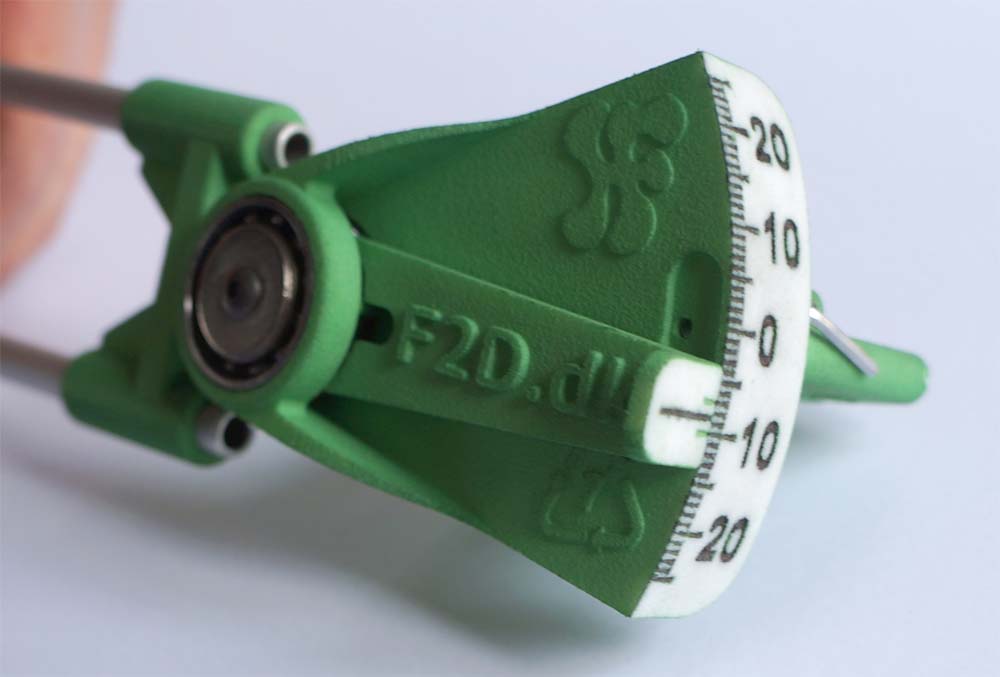 Sand down the scale and indicator to get a white background for the black text  You may also sand down the text for better visibility 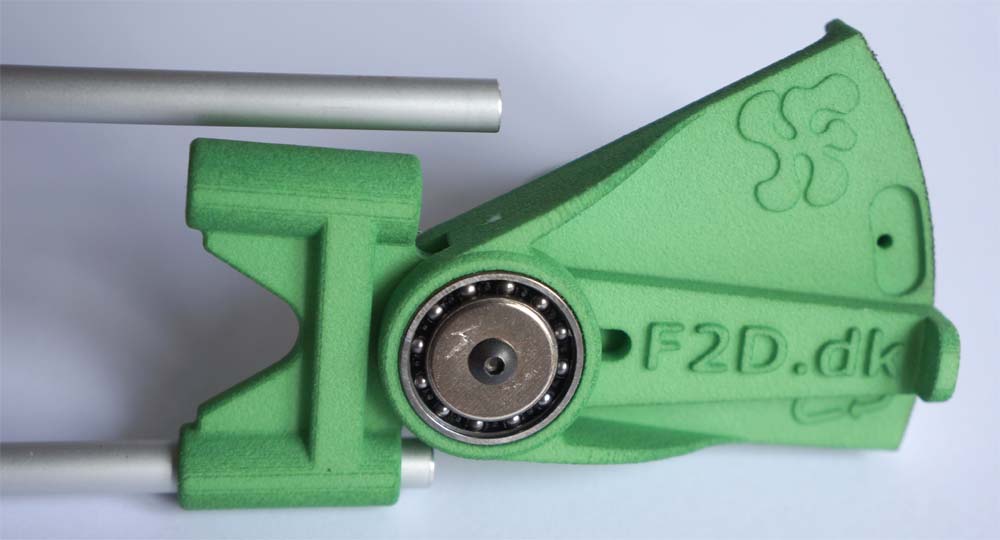 Inset two ø6 tubes in the holes. Use aluminum or carbon as you like 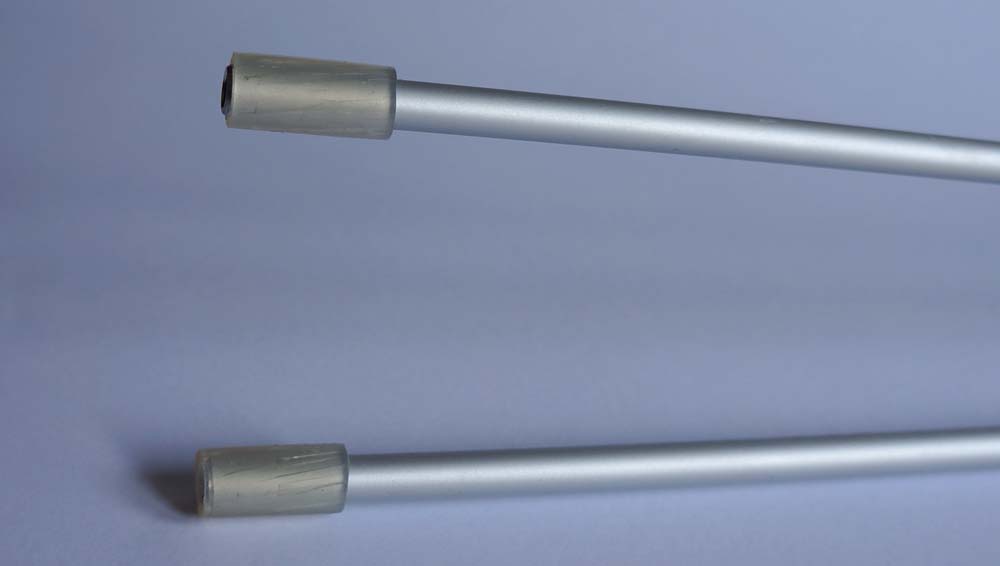 Protect the end of the tubes with silicone tubing 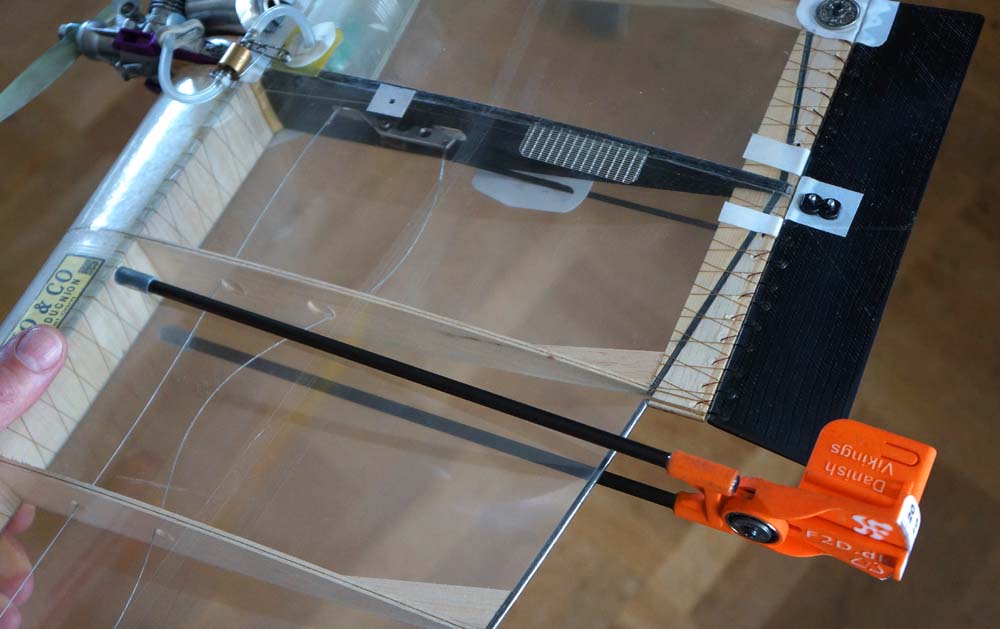 The Klap-o-Meter can be mounted on most models. The elevator will be centered in the holder by flexible fingers 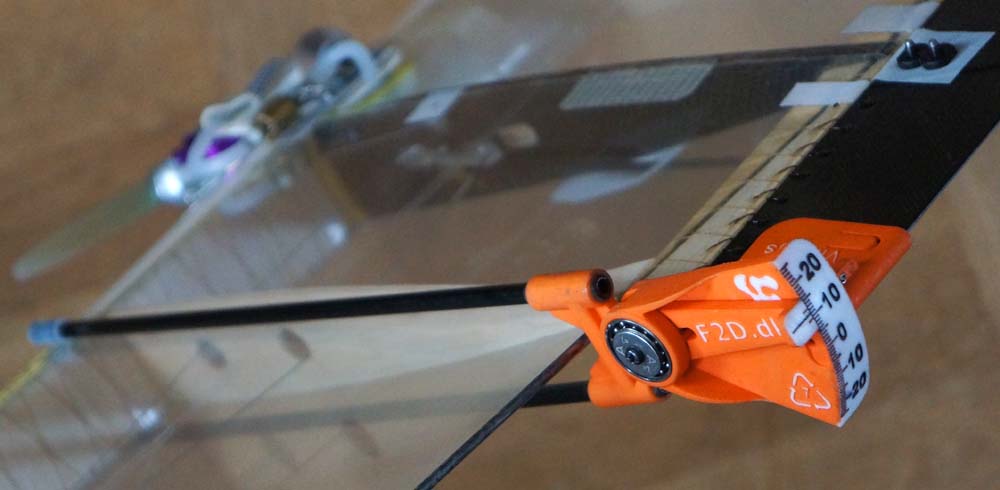 The scale on the Klap-o-Meter makes it easy to measure and adjust the deflection of the elevator |
||
| | ||
|
In general less deflection of the elevator is better.
You can make the model more responsive to the elevator by moving the center of gravity more to the rear of the model.
The model will be less stable and even a small deflection of the elevator will be able to make the model turn tight. Center of gravity and elevator setting is some of the basis keys for a good model trim. It is very individual to every pilot how they prefer the trim there models. The Klap-o-Meter makes it easier to adjust your elevator trim. When you have found a good elevator trim for a series of models, the Klap-o-Meter will make it easy to copy this trim to other models of the same design. |
CG-Meter You can buy the 3D printed plastic part for the Klap-o-Meter from Shapeways | |
 |
||
|
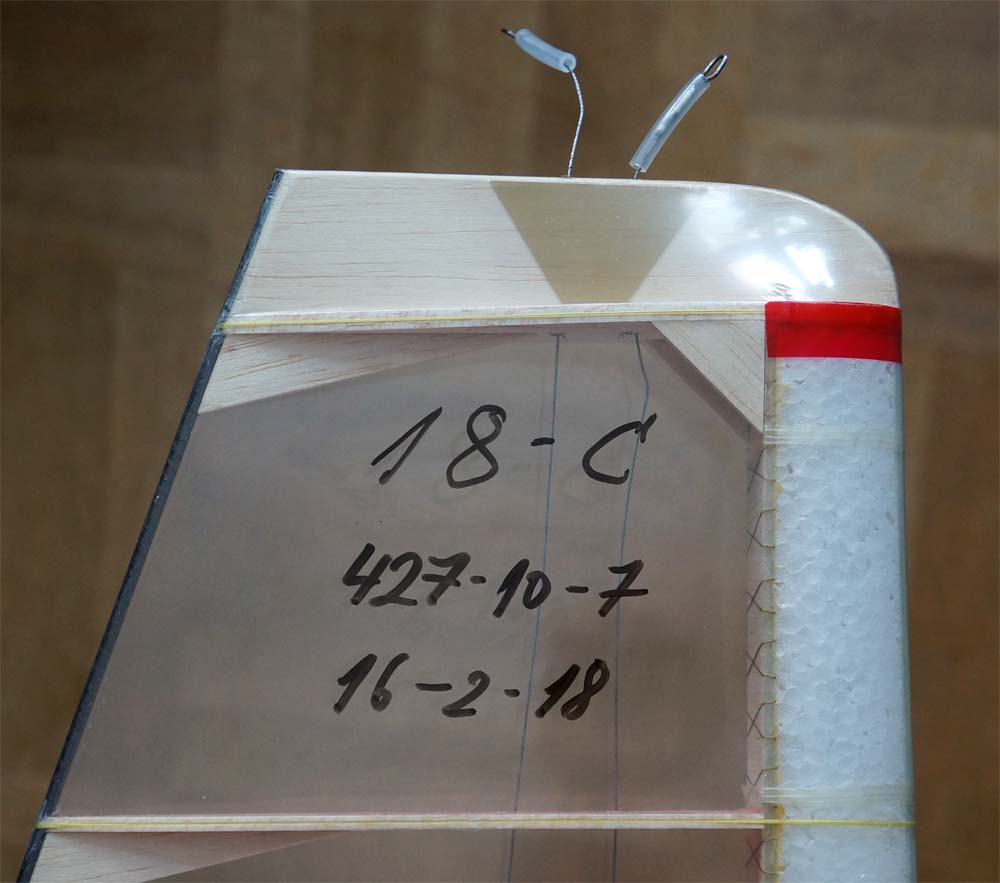
The data for the model is noted on the wing. Every pilot usee his own system. This model is fitted with my Fora engine number "18" and shut-off "C". The weight of the model is: 427 g (dry, ready to fly) The distance from the rear of the "main bar" to the center of gravity is 10 mm. The distance from the outboard side of the center section to the center of gravity is 7 mm. Full up is 16 deg. Neutral (lead out at equal length) is -2 deg. Full down is 18 deg. This information is related to this specific type of model and is only used to compare the setup for models in the same series. |
CG-Meter To get the center of gravity in the right position you need the CG-Meter | |
|
||
|
The Klap-o-Meter have now been updated with two extra sticks These sticks make it easier to see the position of the elevator when you are at the flying field Together with the Handle-o-Meter the double stick Klap-o-Meter is the new super tool for the Danish Combat Vikings You can see it in use in this video |
A simple solution by Buzz Wilson 
More on Flying Lines | |
 The Klap-O-Meter was used by André Bertelsen at the 2018 World Champs in Landre, France 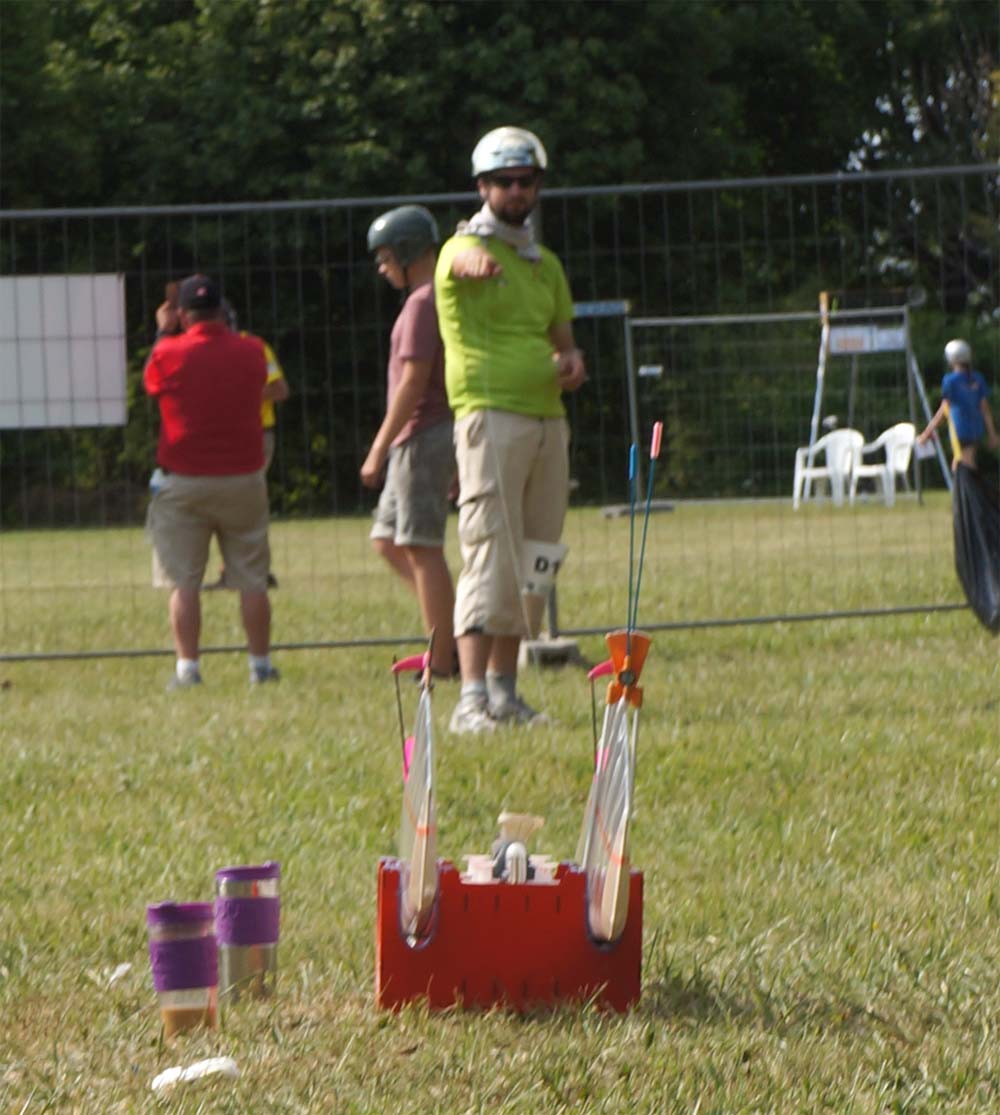
| ||
| | ||
|
Permalink:
https://www.f2d.dk/equipment/model/klapometer.htm
- Public domain -
Spell checking doc
|
||